 By Baxter Overman | December 29, 2024 in
To remove dust and debris from your car, my main piece of advice is to work in stages and use the right towels and tools. In a nutshell, vacuum up the fluffy and loose stuff first, dislodge stuck-on debris next, vacuum and wipe everything down a second time…and add protection at the end.
Pretty simple, right? But there are a few best practices if you want to see the best results that I’ll cover in this post.
Once crumbs and debris are removed you can go much deeper into stain removal or deep cleaning; this is simply our process for normal dust and debris removal.
A big no-no (I admit I’ve done a time or two) is to start spraying and wiping up heavy dust or debris. In this case, any liquid you apply will mix with the dust and clump together. Fluffy dust should be vacuumed up so it won’t clog the fibers in your microfiber towels. And while liquid can help dust ‘stick’ to your towel to a degree, if dust is too heavy you’ll just slide around wet dust clumps.
1. Remove loose debris with a brush and vacuum first
To start, I like to grab a small trash can and remove any drink bottles or large debris by hand; now is the time to slide those seats back and check cupholders for trash.
Next, vacuum up loose debris like paper, dust, or crumbs. I like to use a brush attachment in one hand and a detailing brush in the other to dislodge and sort of ‘rake’ debris into the vacuum nozzle.
It’s also a good idea to use a crevice tool in between the seats.
Removing large debris with your vacuum will make your microfiber towels more effective (since they won’t get clogged with large debris particles).
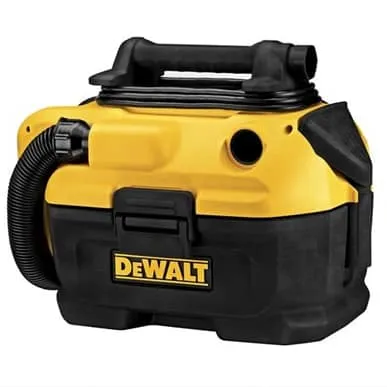
I use a 5-gallon corded Shop Vac when removing debris since it offers more suction than cordless models. However, a cordless vac is handy for weekly debris removal; you won’t need an extension cord AND many are ultra-portable so you can leave them in your vehicle if you prefer.
Dewalt makes a unit I like because it’s ultra-portable, compatible with their 20V max (or larger) batteries, AND has a corded option if you run out of battery power.
Dewalt Cordless and Corded Wet/Dry Vac
🏆 Our Top Pick for Portable Vacuums
If you click this link and make a purchase, we earn a commission at no cost to you. Thanks for your support.
2. Remove and clean your floor mats
After you vacuum loose debris, it’s a good time to remove your floor mats and vacuum them outside your vehicle. For rubber mats, use a diluted multipurpose cleaner or rubber cleaner (as directed) and agitate with a brush if dirty. Rinse off the dirt with water and hang the mats up to dry while you finish the interior.
For rubber mats or carpeted mats, a pressurized steam gun can make this job easier…more on that in a minute.
3. Use a microfiber dusting cloth for the dash
After you remove large debris, moisten a detailing towel with water or a clear detailing spray (if you prefer) to remove any remaining dust from your dash. Microfiber does a pretty good job at removing debris from cupholders too.
Instead of spraying an interior cleaner or your dash, spray it on your towel first. This prevents water droplets from drying on your dashboard or windshield. And stay away from cotton towels for dusting––these tend to shed and leave cotton residue everywhere which you don’t want!
Some microfiber towels are ideal for dusting since they contain just the right pile length and softness for dust to stick to. If the towel fibers are too long, you’ll slide dust around; if piles are too short, they won’t hold a ton of dust. That said, an all-purpose (or standard pile length) microfiber towel works great for dust removal. I like somewhat fluffy 70/30 blend personally.
The Rag Company 420 GSM 70/30 Blend Microfiber Towels
If you click this link and make a purchase, we earn a commission at no cost to you. Thanks for your support.

Check out our post on microfiber towels 101 to learn more about what towels to use when…and a basic rundown of blends and terminology, like GSM.
As a side note—I’m a big believer in taking a few minutes each week to dust my dash using a microfiber towel and clean out trash. That way I won’t have as much to clean when it’s time for a full detail.
4. Clean vents and crevices using compressed air or detailing brushes
Some areas can be hard to clean when dusting unless you have a thin detailing brush…particularly vents.
That’s where thin detailing brushes with soft nylon tips come in handy.
One of my favorite detailing companies, SPTA makes a good entry-level brush set for this application. It includes a few different bristle types, including a soft, nylon makeup brush (with a white tip) ideal for screen cleaning and dust removal. Other detailing brushes are made of boar hair and are ideal for dirt agitation instead of dusting.
SPTA Interior Detailing Brush Set
🏆 Our Top Pick for Interior Detailing Brushes
If you click this link and make a purchase, we earn a commission at no cost to you. Thanks for your support.

While physical agitation is one way to remove crumbs or normal debris, compressed air can also be used in detailing to remove debris in vents and small crevices. You can either use an air compressor and a blow gun, or a can of compressed air. In auto detailing, the Tornador is the industry standard device to use here, since it also cleans using pressurized steam (in addition to air only).
Tornador Air and Steam Cleaning Tool
If you click this link and make a purchase, we earn a commission at no cost to you. Thanks for your support.

For cleaning debris around buttons, car cleaning gel is another option. This stuff comes in a container (like Play-Doh) and picks up dust in areas a microfiber towel can’t reach.

5. Wipe down interior surfaces with a cleaning spray and protectant
Once your visible debris is gone, I like to finish with a basic non-greasy interior cleaning spray applied using a low-pile towel. Some interior sprays are designed with more cleaning agents than others, but I prefer protectants that just add a bit of UV protection if I don’t need the cleaning power.
303 Products makes a good streak-free, non-greasy spray I like because it has UV protection and can also be used on electronics.
303 Products All-Purpose Protectant
If you click this link and make a purchase, we earn a commission at no cost to you. Thanks for your support.

Learn the basics of washing and detailing
To remove debris, that’s pretty much the process. But cleaning and conditioning seats, carpets, and other interior areas is worth learning too.
That’s why we created our video course, Washing and Detailing for Beginners.
This crash course covers all the basics of interior and exterior detailing so you can start seeing results and gain confidence in your ability. Just use code BLOG at checkout for 15% off.
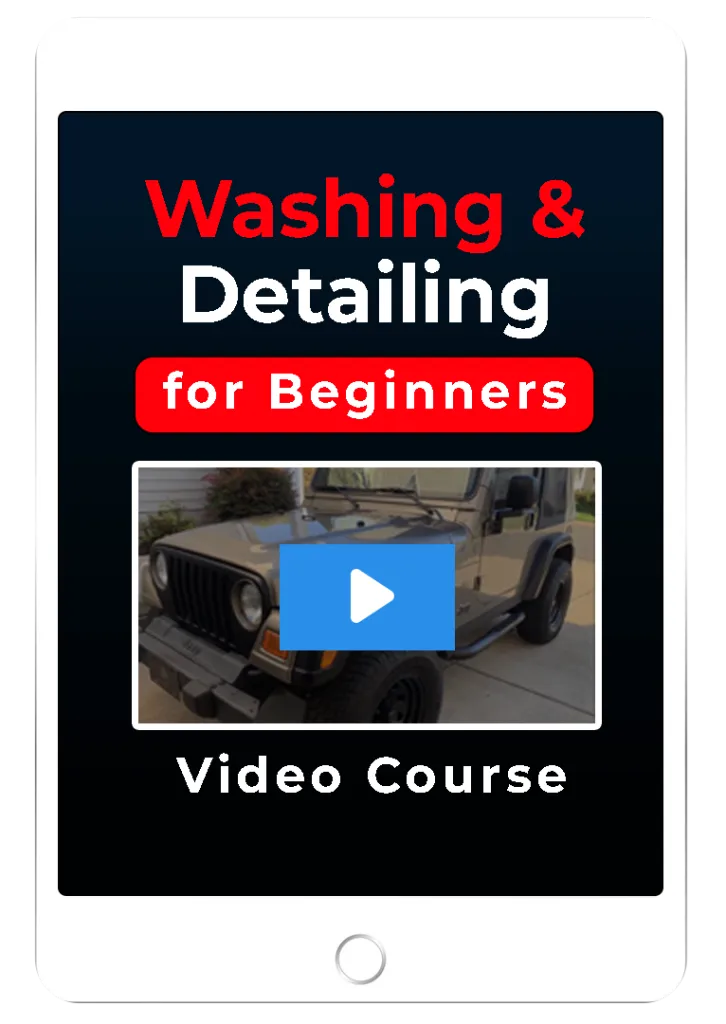
Learn the basics of car care and gain confidence in your ability.
This video course unpacks the fundamentals of washing and detailing. From exterior cleaning and blemish removal…you’ll learn the secrets that will give you spotless pro-level results!
If this post has been helpful, check out the rest of our interior car care guides—like how to clean car carpet or leather seats. Happy detailing!